Vintage to Vogue-Bridal Reimagined
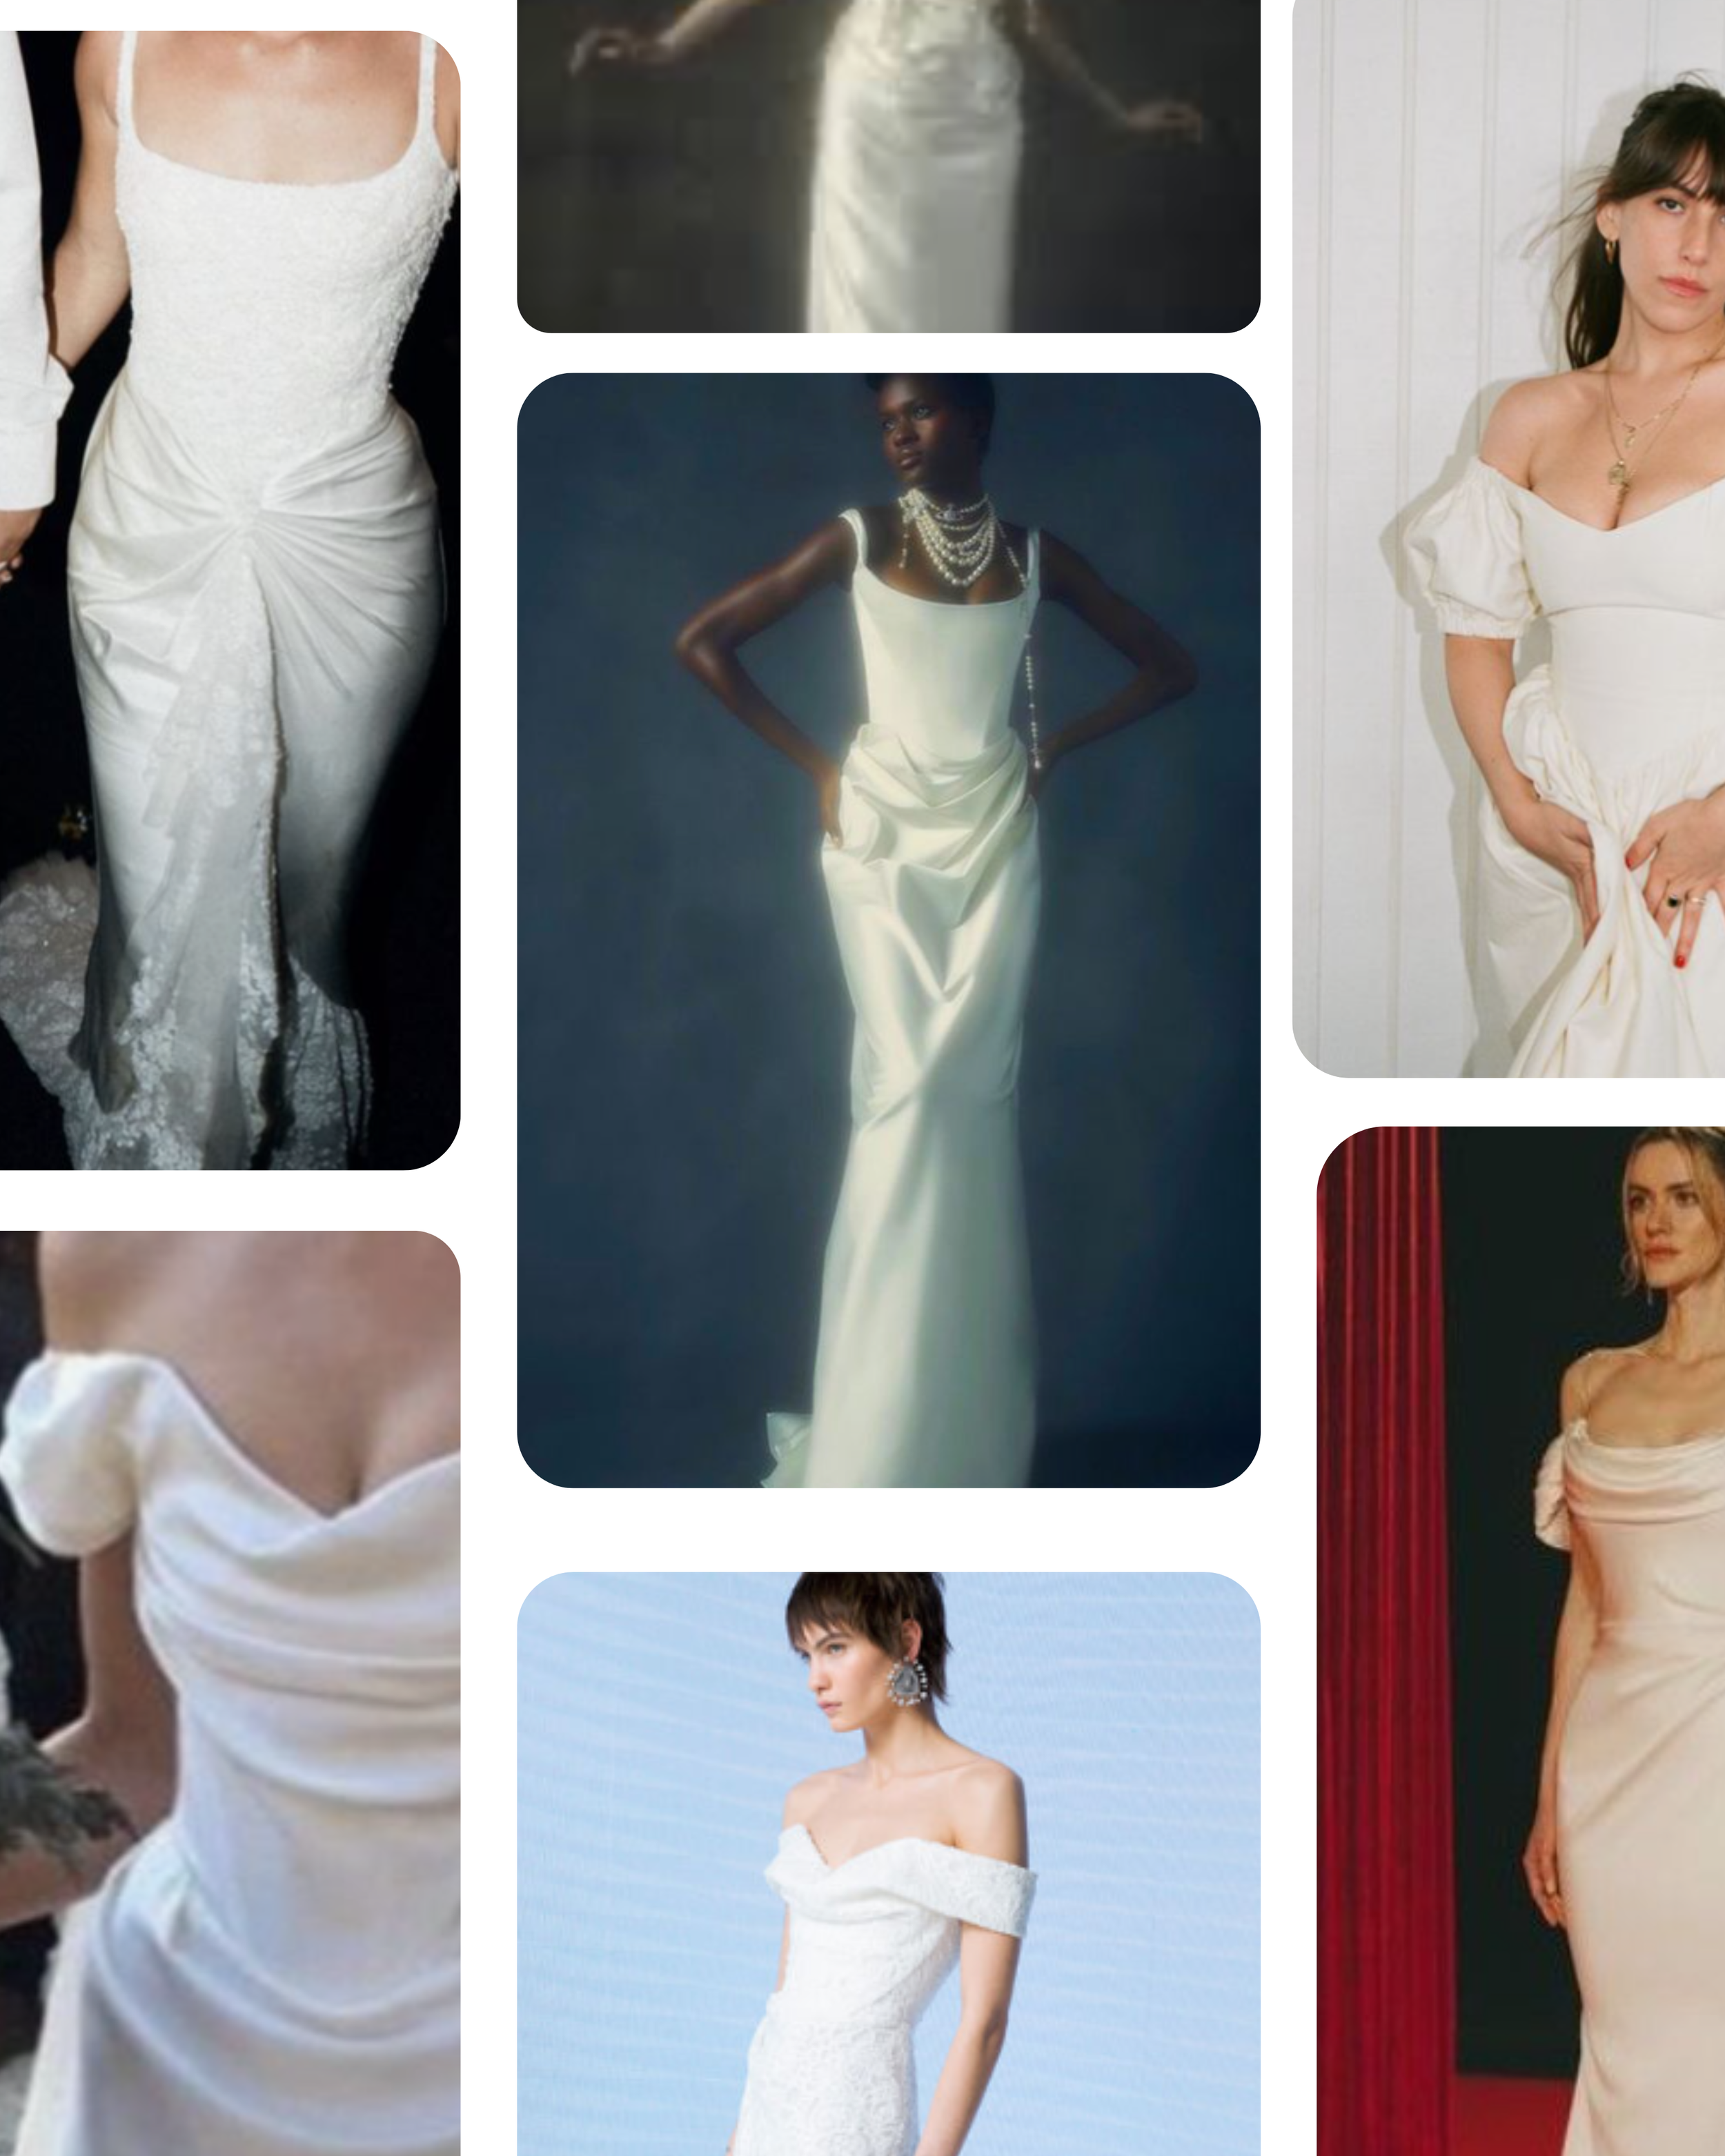
I'm often asked how our Custom Redesign service works, so I thought I’d write about my client Sara's experience for the blog. Our collaboration began with a virtual consultation. My excited bride-to-be client shared photos from her mom's 1984 wedding. The original dress was quintessential 80s – a satin jacquard fabric with voluminous pouf sleeves and a gathered skirt. However, Sara saw its potential; her vision was a sleek, body-hugging silhouette inspired by the iconic Vivienne Westwood. We discussed the redesign process and timeline, and I gave her a rough cost estimate.
The First Steps to a Modern Transformation
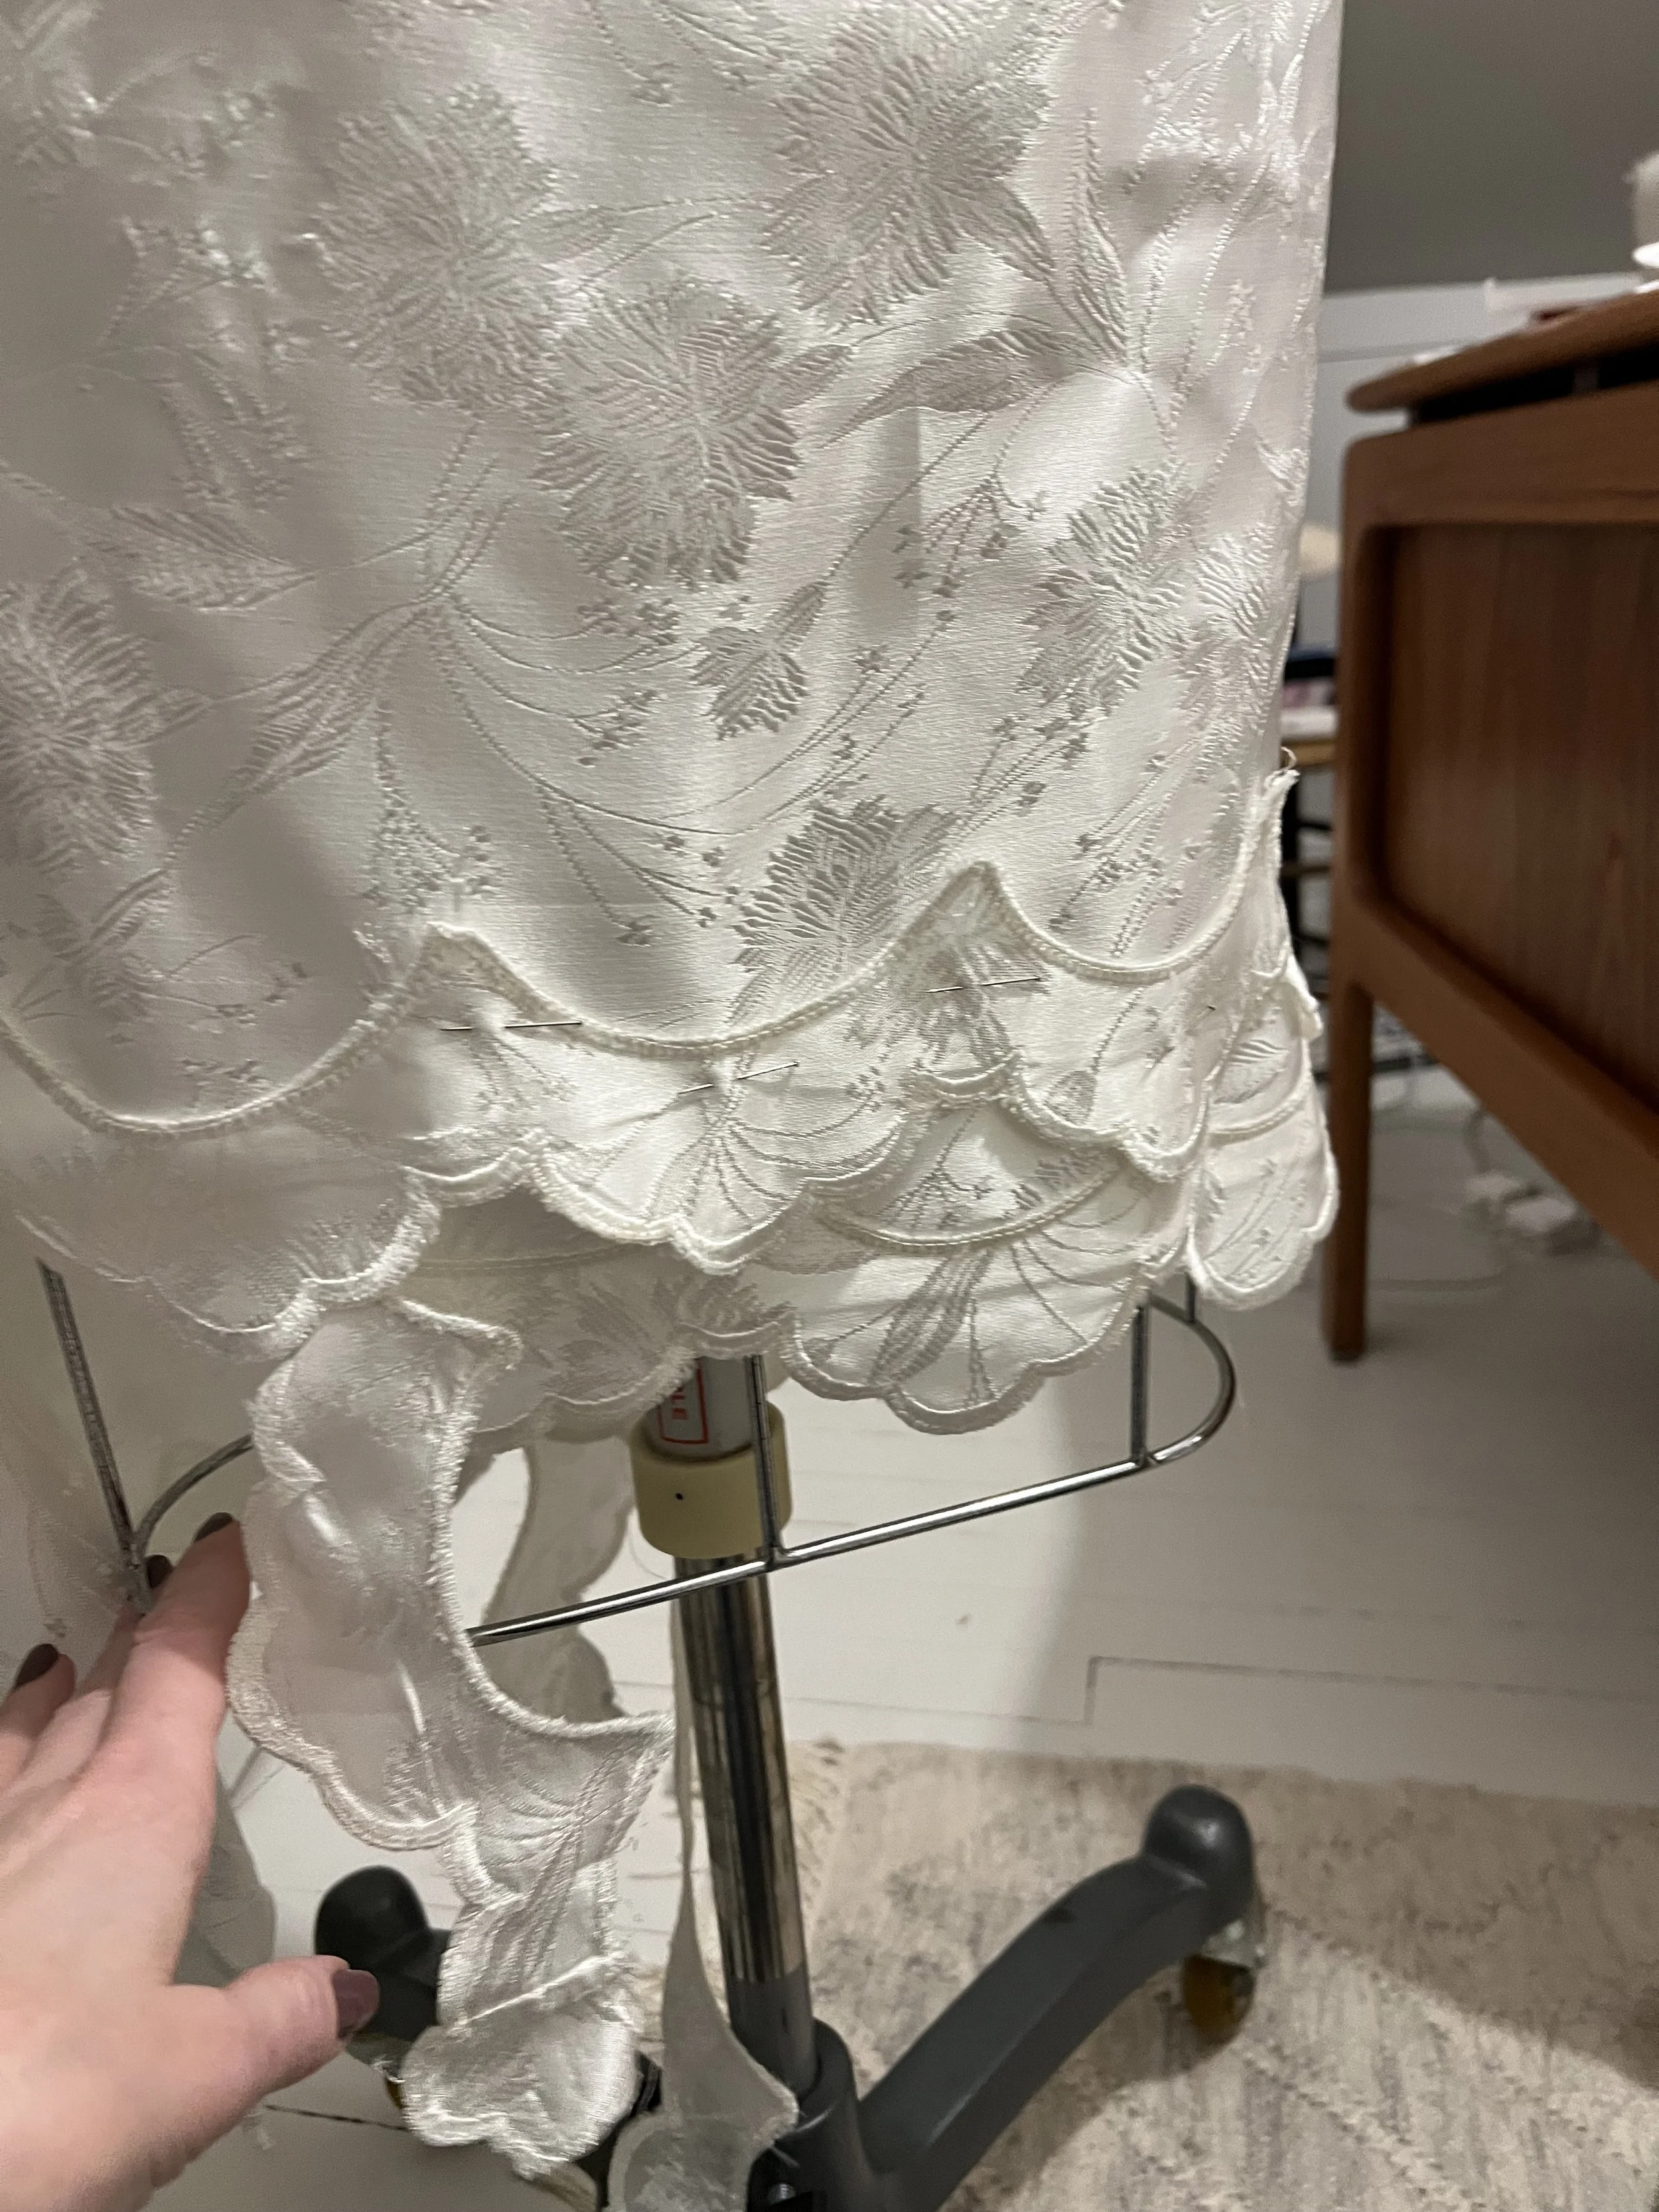
She decided to move forward, and our first in-person meeting occurred in the bride's stylish Tribeca apartment. As she carefully removed the heirloom dress from its storage box, we couldn't help but chuckle at the stark contrast between the vintage style and the modern aesthetic she envisioned. Together, we examined the intricate rose pattern of the jacquard fabric. Some stains are common, but we were delighted that it was pristine. As the bride tried on the dress, we began to mock up the new design, pinning the fabric and shaping the silhouette. The transformation was already taking shape, and the bride's excitement was palpable. As a designer, seeing a dress in person is always different than a photo. The jacquard fabric was pretty stiff, and I knew I would have to unseam the skirt and redrape it on the bias to attain the body-skimming silhouette she desired. I was up for the challenge.
I then took her measurements, ready to jump into the redesign after the sketch review.
Visualizing the Transformation: Design Sketches
With a clear vision in mind, I presented the bride with a few design sketches so she could choose the one she wanted me to make.
This stage of the process is incredibly flexible. It's easy to make tweaks to a sketch and modify anything. I also gave Sara a proposal, i.e., a bill, with a breakdown of the materials needed, such as steel boning, an invisible zipper, and the labor cost. She chose the design a couple of days later, and I promised to show her a drape on my mannequin by Facetime several weeks later. This flexibility ensures that the final design is exactly what the client envisions, and it's a key part of our Custom Redesign service.
The First Fitting: Fine-Tuning the Details
After showing her some photos and having a video call to show her the progress, we scheduled an in-person appointment at her Tribeca apartment. The dress was basted at this point. The new skirt was draped, and the zipper was also just basted in - no finishing touches (like the scallop reattached at the hem) were in place. This was to see the fit and
style on the body. A bias skirt is tricky; the fabric reacts differently on both sides because the grain is different. One side laid smooth, but the other was buckling....and it was a bit tight at the center back low hip seam- luckily, I had kept generous seam allowances- for this purpose!
I ripped and re-pinned on her body. I had one sleeve done, and she approved the length and fullness.
A Tailor-Made Solution: Overcoming a Last-Minute Challenge
After this fitting, I returned, made my changes, sewed the dress on the machine, put in the invisible zipper, and applied the original scallop to the new, shorter, and narrower hem. Our second fitting, several weeks later, ended up being the last - there was still a slight tweak needed to one side of the skirt -- Sara thought it was pulling just a bit. She had a sewing machine in her apartment, and she happened to have the perfect soft white thread color I needed. I was able to adjust in a short time and save myself a third trip, showcasing the flexibility and problem-solving skills that are integral to the design process.
The Dress's Debut: A Showstopper
I was overjoyed to receive the photos of Sara and her fiance at the pre-wedding bash her in-laws threw, which is the event she always planned on donning the redesign. She was so thrilled with it and got so many compliments on it, she wore it a second time! She sent me amazing photos taken all around Manhattan to celebrate her intimate courthouse wedding downtown. Her happiness and satisfaction with the final product were the best rewards for the hard work and dedication I put into the Custom Redesign service.
Photo credit: Top row- Kathi Littwin Photography, Rows 2 & 3 - Blake Nelson Weddings


